We rarely have come across a dumpling that we wouldn't eat, regardless of what cuisine that dumpling is from! We were very happy to find Andrea Nguyen's classic Asian Dumplings: Mastering Gyoza, Spring Rolls, Samosas, and More, which certainly took care of our obsession with all dumplings, and finger food, too!
From the Author: "If you like pot stickers and steamed buns, you’ll love these spongy-crisp pan-fried treats from Shanghai, where typically they are cooked in humongous shallow pans (much like large paella pans) with wooden lids. These buns are made of yeast dough that is filled with an aromatic pork mixture and then fried and steamed in a skillet. Cooking under cover with a bit of water delivers plenty of moisture to puff up the buns. Ground beef chuck or chicken thigh can stand in for the pork in this recipe.
A bāozi is a mini bāo (bun) and for that reason, I like to keep these true to their name and shape small ones. However, you can elect to form sixteen medium-size (23/4-inch) buns. Roll the dough circles out to 3-1/4 inches in diameter and use about 4 teaspoons of filing for each bun; increase the water and cooking time a tad.
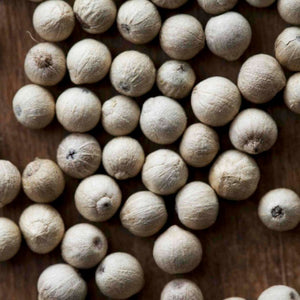
Many Asian cooks employ—to great success—a cakey, snowy-white Cantonese-style dough made from low-gluten cake flour or from a quickie flour and baking powder blend. This dough is different; it has more depth, and its loft and resilience comes from combining yeast and baking powder; fast-rising yeast works like a champ. All-purpose flour with a moderate amount of gluten, such as Gold Medal brand widely available at supermarkets, is what I prefer for this dough. Use bleached flour for a slightly lighter and brighter finish.
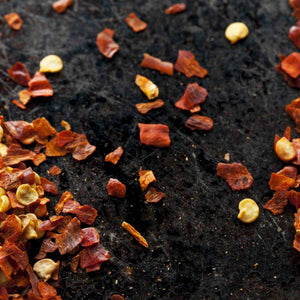
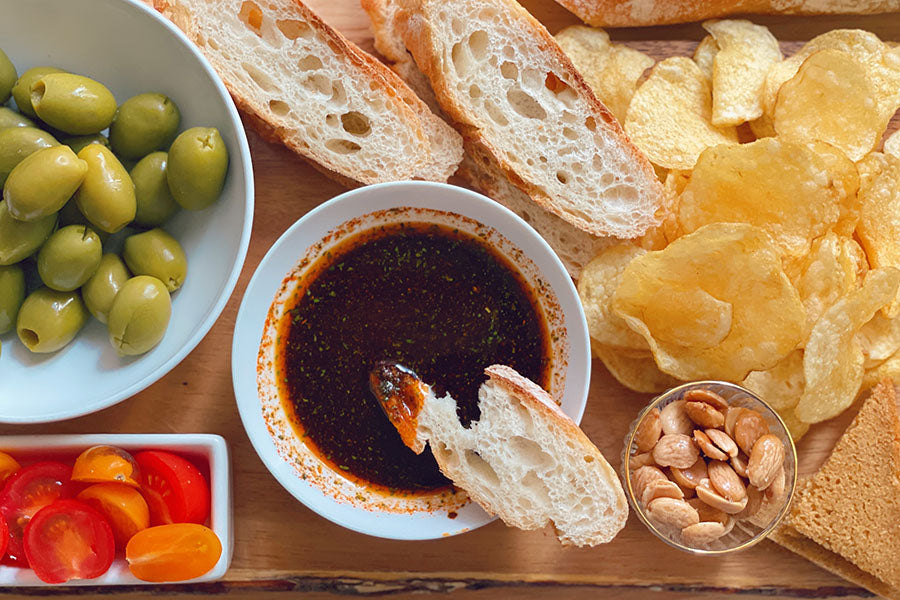
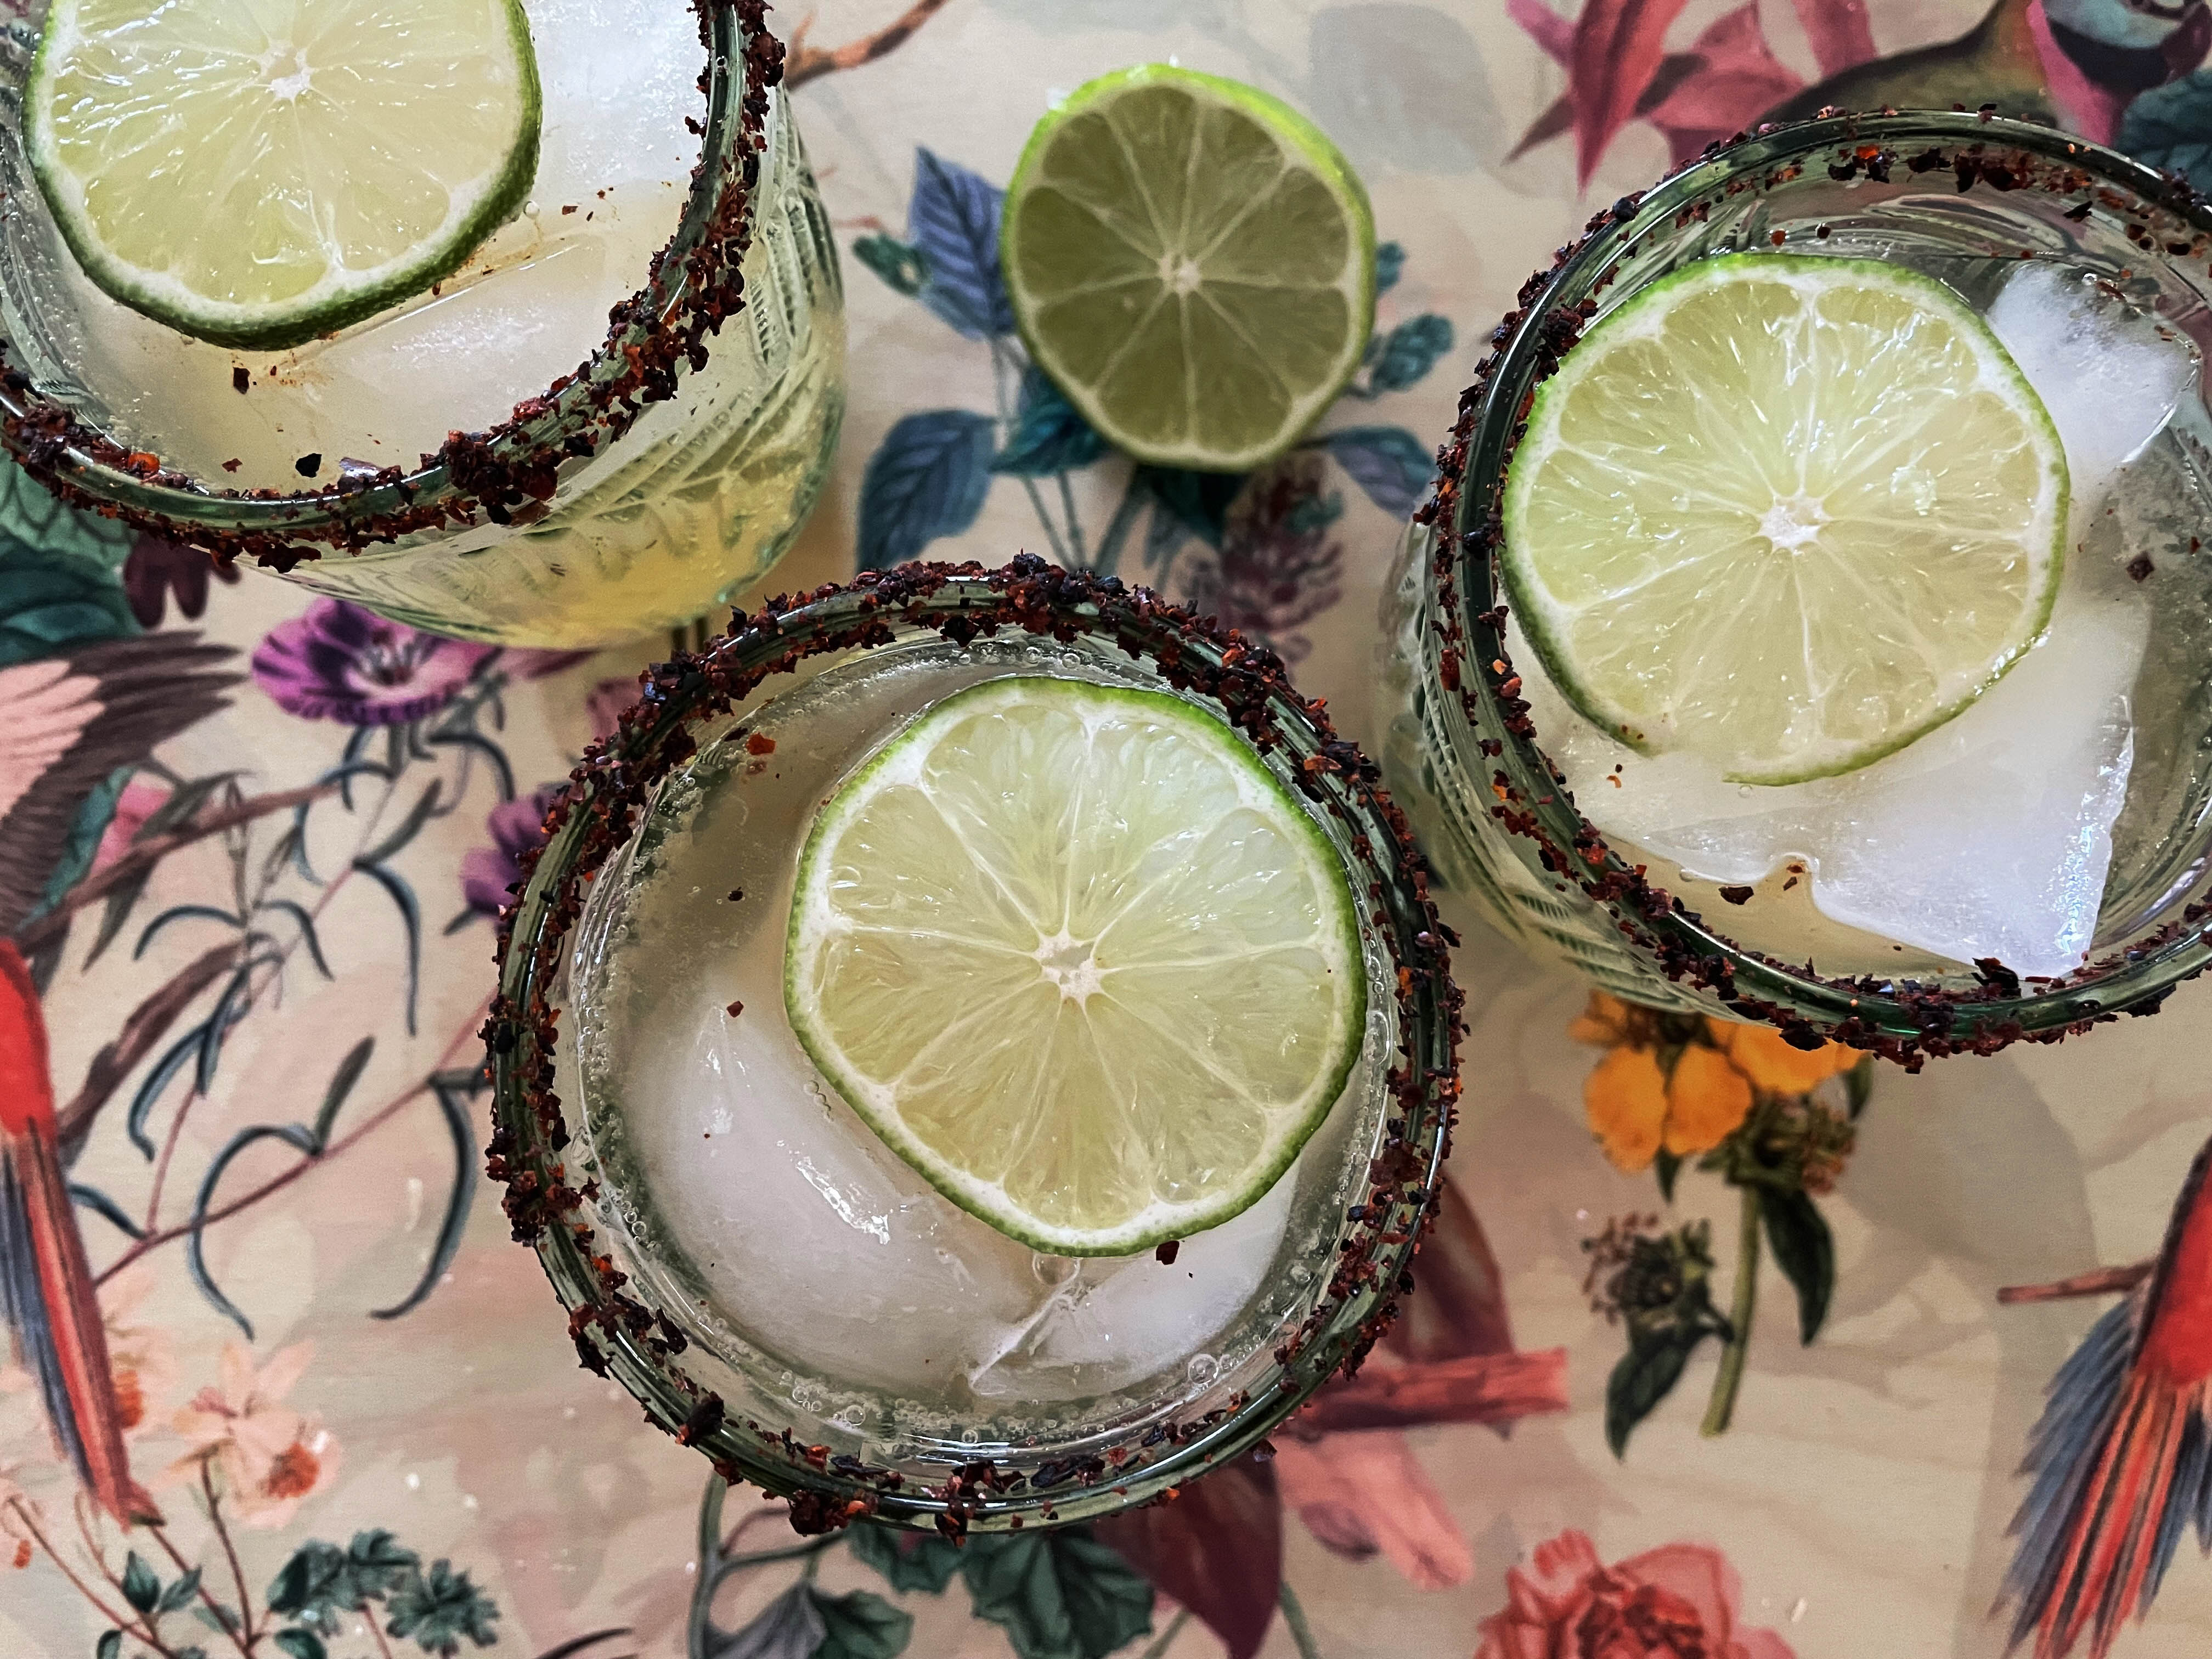
Used in Chinese, Japanese, and Southeast Asian cooking, chile oil is easy to prepare at home, and it’s infinitely better than store-bought. Its intense heat enlivens many foods, especially dumplings, which benefit when chile oil is part of the dipping sauce or used as a garnish. Some cooks add aromatics, such as ginger, star anise, and Sichuan peppercorns, to the oil, but I like to keep the chile flavor pure. While you may use other cooking oils, such as canola oil, my preference is for the kind of peanut oil often sold at Chinese markets, which is cold pressed and filled with the aroma of roasted peanuts. It is texturally light, has a high smoking point, and offers a wonderful nuttiness that pairs well with the intense chile heat. Lion & Globe peanut oil from Hong Kong is terrific. Use just the infused oil or include the chile flakes for an extra brow-wiping experience.
From the Author: "If you like pot stickers and steamed buns, you’ll love these spongy-crisp pan-fried treats from Shanghai, where typically they are cooked in humongous shallow pans (much like large paella pans) with wooden lids. These buns are made of yeast dough that is filled with an aromatic pork mixture and then fried and steamed in a skillet. Cooking under cover with a bit of water delivers plenty of moisture to puff up the buns. Ground beef chuck or chicken thigh can stand in for the pork in this recipe.
A bāozi is a mini bāo (bun) and for that reason, I like to keep these true to their name and shape small ones. However, you can elect to form sixteen medium-size (23/4-inch) buns. Roll the dough circles out to 3-1/4 inches in diameter and use about 4 teaspoons of filing for each bun; increase the water and cooking time a tad.
Many Asian cooks employ—to great success—a cakey, snowy-white Cantonese-style dough made from low-gluten cake flour or from a quickie flour and baking powder blend. This dough is different; it has more depth, and its loft and resilience comes from combining yeast and baking powder; fast-rising yeast works like a champ. All-purpose flour with a moderate amount of gluten, such as Gold Medal brand widely available at supermarkets, is what I prefer for this dough. Use bleached flour for a slightly lighter and brighter finish.
Used in Chinese, Japanese, and Southeast Asian cooking, chile oil is easy to prepare at home, and it’s infinitely better than store-bought. Its intense heat enlivens many foods, especially dumplings, which benefit when chile oil is part of the dipping sauce or used as a garnish. Some cooks add aromatics, such as ginger, star anise, and Sichuan peppercorns, to the oil, but I like to keep the chile flavor pure. While you may use other cooking oils, such as canola oil, my preference is for the kind of peanut oil often sold at Chinese markets, which is cold pressed and filled with the aroma of roasted peanuts. It is texturally light, has a high smoking point, and offers a wonderful nuttiness that pairs well with the intense chile heat. Lion & Globe peanut oil from Hong Kong is terrific. Use just the infused oil or include the chile flakes for an extra brow-wiping experience.