Every year, as we head into the holiday season, people begin to ask us about brining their turkeys. Is it worth the extra hassle? Does it really lead to a juicier bird? Well, we’re happy to report "yes!" to both. It’s probably easier than you think, and when done right, will ensure that your Thanksgiving turkey breast is moist and tender. The essential elements are water and salt - and a little advance planning. Simply mix up your brine and submerge the turkey for up to 24 hours before cooking.
How to Brine:
We won’t bore you too much with the science. Basically, the salt in the brine pushes the muscle fibers apart allowing more of the salty water to be drawn into the meat. It gives more moisture in the bird to start, which prevents it from drying out during the long cooking time. Once you incorporate brining into your holiday routine, it simply adds to the bustle and flavor of the season, along with a dose of stress reduction because your turkey will not be dry. Here are the basics.
- Preparation! Your turkey should be completely thawed and you must have a brining container that is big enough to hold the turkey which needs to be completely submerged. Brining bags are all the rage- but a canning pot, bucket or cooler can do the trick just as well. Make sure you have a cool place to put the brining turkey for 12-24 hours prior to cooking. This requires a good bit of refrigerator space, but if you use a brining bag, it doesn’t require much more than it would for the bird itself.
- Precision! When making the brine, be sure to use the correct proportion of water and salt, regardless of what else you add to the mix- the salinity of the brine must be correct for it to flow into the meat. The standard proportion is 1 cup of kosher salt per gallon of water or stock. No need to use specialty salts here, the nuances will not contribute to the flavor. If you are using prepared vegetable stock, make sure it is salt free.
- Patience! The brine and turkey should both be cooled to the same temperature before they are combined. Again, this ensures that the brine will flow easily into the turkey. Be sure to leave the bird in the brine at least overnight, and 24 hours is better for larger turkeys.
Brining Recipe:
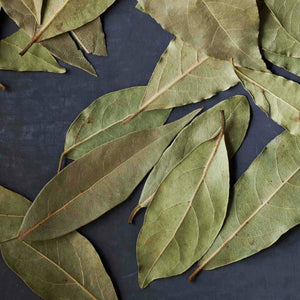
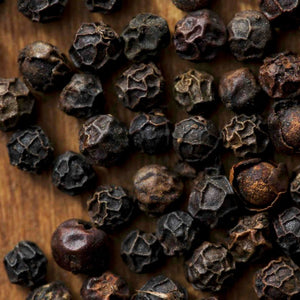
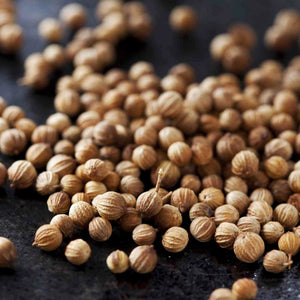
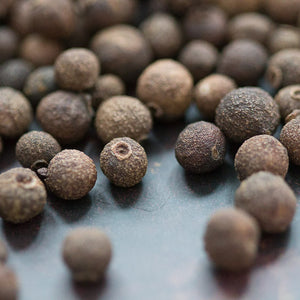
As long as you follow the basic proportions above, you can change it up with all your favorite flavors. Substitute vegetable stock for water, add the spices you love and sweeten it up if you like, the sky's the limit. Just be sure to follow the guidelines above and keep the turkey nice and cool. Remember, safety first!
This is my favorite brine for Thanksgiving turkey. It uses apple cider instead of sugar for a sweetness that emerges beautifully on a grilled turkey.